How to Build an Indoor Compost Bin
Composting is a fantastic way to reduce waste and create nutrient-rich soil for your garden. However, the process can be messy and smelly, especially if you're composting indoors. Building your own indoor compost bin can help to contain the mess and control the odor, allowing you to compost year-round in the comfort of your home. This guide will walk you through the process of building a simple and effective indoor compost bin.
Choosing the Right Materials
The first step is to choose the materials you will use for your compost bin. Here are some popular options:
Wood
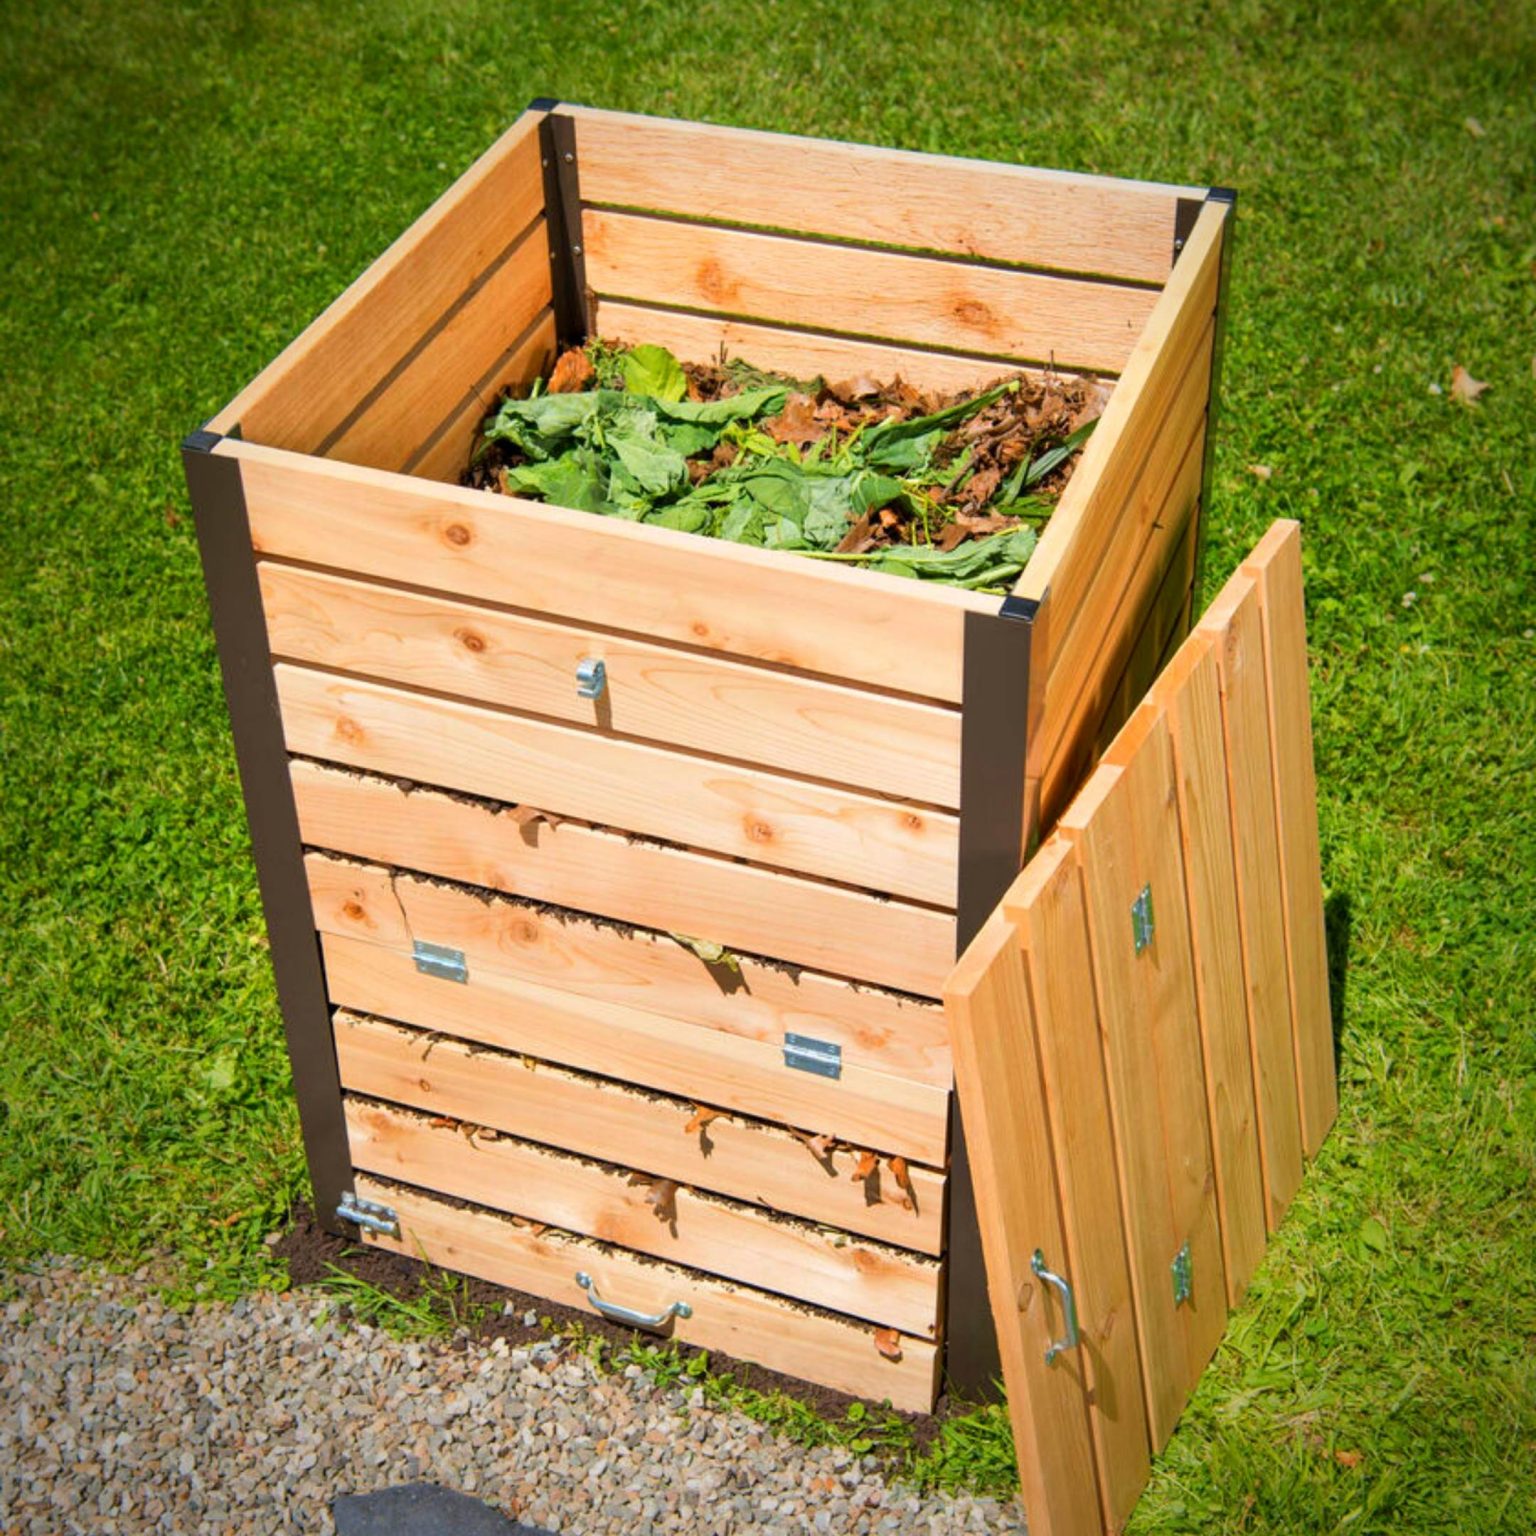
Wood is a classic choice for compost bins. It's readily available, affordable, and relatively easy to work with. Cedar, redwood, and pressure-treated lumber are good choices due to their durability and resistance to moisture. However, avoid using treated lumber that is chemically treated, as it may leach harmful chemicals into your compost.
Plastic
Plastic bins, such as those used for storing food or toys, can be repurposed for composting. They are lightweight, easy to clean, and often come with lids. Just be sure to choose a bin that is made from food-grade plastic and free from chemicals.
Metal
Metal bins are durable and can withstand high temperatures, making them a good choice for hot composting methods. Galvanized steel is a common choice for compost bins, but be sure to use stainless steel or other non-corrosive metals.
Designing Your Compost Bin
Once you've chosen your materials, you'll need to design your compost bin. Here are some factors to consider:
Size
The size of your compost bin should be determined by how much food waste you produce. A small bin, 2-3 cubic feet, is suitable for a single person or a small household. Larger bins, 5-10 cubic feet, can accommodate a family or those who produce a lot of food waste.
Shape
Square or rectangular bins are generally easier to build and fit well in corners. Round or cylindrical bins can be more challenging to construct, but they offer a greater volume for composting.
Access Points
Consider how you will access your compost bin for adding food scraps, turning the compost, and removing finished compost. You may want to include a hinged lid, a removable top, or a side door.
Building Instructions for a Simple Wooden Compost Bin
Here are step-by-step instructions for building a basic wooden compost bin:
Materials
- Four 4x4 lumber posts (for the frame)
- Four 2x4 lumber boards (for the sides)
- One 2x4 lumber board (for the base)
- One 1/2-inch plywood sheet (for the top and bottom)
- Wood screws
- Wood glue
- Measuring tape
- Circular saw or hand saw
- Drill
- Level
- Clamps
Steps
- Cut the Lumber: Measure and cut the 4x4 posts and 2x4 boards to the desired dimensions for your compost bin. For a square bin, all sides will be equal in length.
- Assemble the Frame: Use wood screws and glue to attach the 4x4 posts together to form the frame of the bin. The posts should be placed at the corners of the bin.
- Attach the Sides: Cut the 2x4 boards to the height of the bin and use wood screws and glue to attach them to the inside of the frame, forming the sides of the bin.
- Add the Base: Cut the 2x4 board to the width of the bin and attach it to the bottom of the frame using wood screws and glue.
- Attach the Plywood Top and Bottom: Cut the plywood to the size of the bin opening and attach it to the top and bottom of the frame with wood screws. You can create a removable top by using hinges, or you can simply use a sheet of plywood that sits on top.
- Optional: Add a Door: If desired, you can create a side door for easy access to the compost bin. This can be done by cutting a rectangular opening in one of the sides and attaching a door frame with hinges and a latch.
- Finish: Once your compost bin is built, you may want to add a finish, such as paint or stain, to protect the wood and improve its appearance.
Tips for Successful Indoor Composting
Here are some tips to ensure your indoor composting is a success:
Choosing the Right Location
Select a well-ventilated area for your compost bin. Avoid placing it in a humid or airtight room, such as a basement or bathroom. A kitchen or laundry room are good options.
Maintaining the Correct Carbon to Nitrogen Ratio
Composting requires a balance of carbon-rich (brown) and nitrogen-rich (green) materials. Brown materials, such as shredded paper, leaves, and cardboard, provide carbon, while green materials, such as food scraps, grass clippings, and coffee grounds, provide nitrogen. A good ratio is about 2 parts brown to 1 part green.
Turning the Compost
Regularly turning the compost helps to aerate it and ensure that all materials decompose evenly. This also helps to control odors. You should turn your compost bin at least once a week.
Monitoring Moisture Levels
Compost needs to be moist, but not soggy. If the compost is too dry, add some water. If it's too wet, add more brown materials.
Dealing with Odors
Compost bins can produce odors, especially when they are first starting out. To reduce odors, add a layer of carbon-rich materials on top of your food scraps, turn the compost regularly, and make sure the bin is well-ventilated.
Using Finished Compost
Once the compost is finished, it will be dark, crumbly, and smell like rich soil. This can be used to amend your garden soil or start new seedlings.
Conclusion
Building your own indoor compost bin is a rewarding and environmentally friendly project. With a little effort, you can create a valuable resource for your garden and reduce your environmental impact. By following these instructions and tips, you can enjoy the benefits of composting year-round, no matter the weather.


0 comments:
Post a Comment
Note: Only a member of this blog may post a comment.