Hey there, DIY enthusiasts! Ever feel like your backyard is missing something? A little bit of personality, a cozy spot to relax, maybe a place to sip your morning coffee while watching the sunrise? Well, I'm here to tell you, you don't need to spend a fortune to make your outdoor space feel like a million bucks.
Today, we're diving into a project that's as easy as it is budget-friendly: building a wooden pallet bench. Yep, you read that right! Those humble pallets you might see discarded behind stores or construction sites can be transformed into a stylish and sturdy seating option for your patio, deck, or even your garden.
Let's Get This Pallet Party Started
Before we dive into the nitty-gritty of building, let's talk about what makes this project so awesome:
Super Affordable: Pallets are often free for the taking! You might need to ask nicely, but they're usually readily available.
Eco-Friendly: Giving new life to discarded materials is a win for the planet.
Easy Peasy: Even if you're not a seasoned DIY pro, this project is a breeze.
Customizable: You can personalize your bench with paint, stain, cushions, and even a little bit of greenery.
The Supplies You'll Need
Alright, let's gather our materials. You'll need:
1-2 Pallets: You can use one pallet for a shorter bench or two pallets for a longer one. Look for sturdy pallets in good condition â€" avoid any with broken or cracked wood.
Safety Gear: Don't forget your work gloves and safety glasses. Pallet wood can be a bit rough.
Power Drill: This will be your trusty sidekick for securing screws.
Screws: Choose screws that are long enough to go through the pallet boards and into the support beams.
Wood Glue: This helps to strengthen the joints and prevent the bench from becoming wobbly.
Sandpaper: Smooth out any rough edges or splinters for a comfortable seating experience.
Optional Extras: Paint, stain, outdoor cushions, plants, and any other decorative elements you desire.
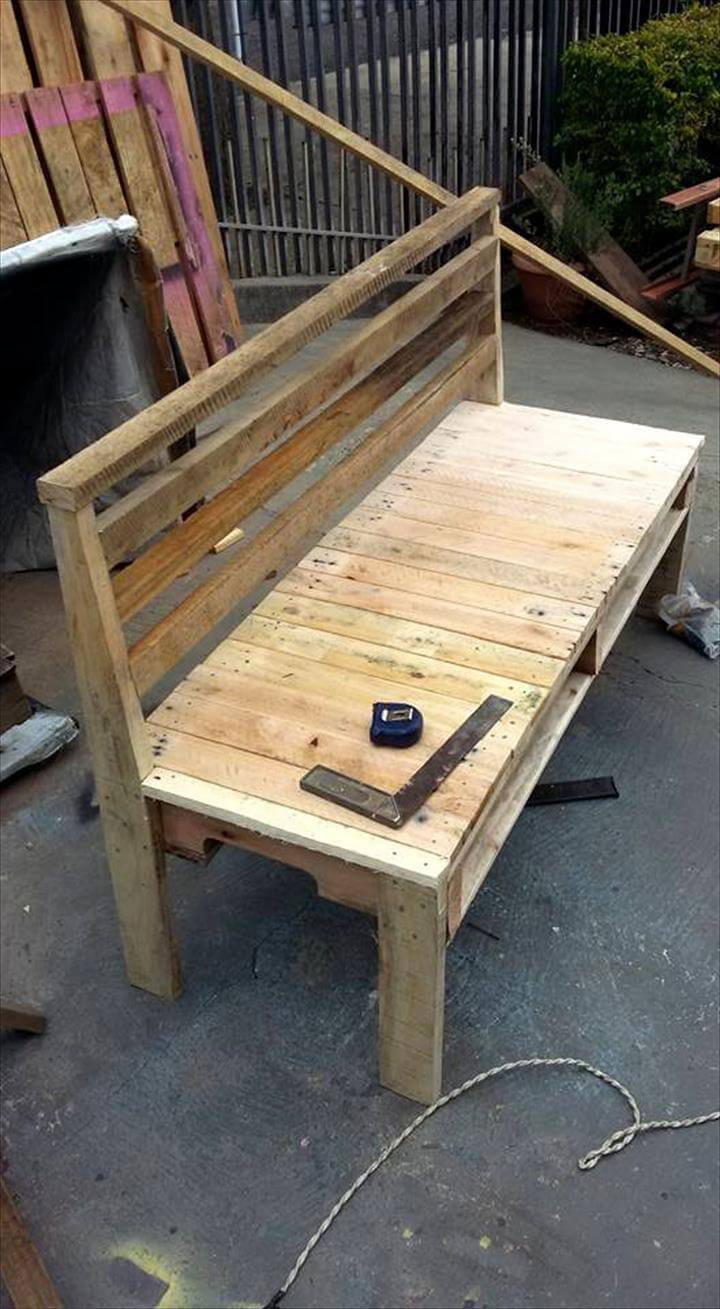
Building Your Pallet Bench: Step by Step
Now, let's break down the construction process into simple, easy-to-follow steps:
1. Prep the Pallet: Start by giving your pallet a good scrub with soap and water to get rid of any dirt or grime. Then, let it dry completely.
2. Disassemble (If Necessary): If you're using two pallets, you might need to take them apart to create the desired length for your bench. Use a pry bar and a hammer to carefully remove the nails.
3. Sanding Time: Once you've assembled your pallet base, sand down any rough edges and splinters to ensure a smooth, comfortable surface.
4. Strengthen the Base: If your pallets have slats that are too flimsy for your liking, you can add extra support. Simply screw boards across the bottom, creating a solid base for your bench.
5. Assemble the Legs: To create a more robust bench with a raised seat, consider adding legs. You can use pre-made legs or cut your own from scrap wood. Attach them to the underside of the bench, ensuring they're evenly spaced and secure.
6. Personalize with Paint and Stain: This is your chance to let your creativity shine! Paint your bench in a vibrant color, give it a rustic wood stain, or embrace the natural wood for a more farmhouse aesthetic.
7. Adding Comfort: Cushions are a must for a cozy outdoor seating experience. Choose outdoor cushions that are durable and weather-resistant.
8. Finishing Touches: Now, it's time to add those personal touches! Hang a planter on the back of the bench, add some decorative pillows, or place a small table nearby.
Tips and Tricks for Pallet Bench Success:
Look for Sturdy Pallets: Choose pallets with solid wood and good construction. Avoid pallets with broken boards or weak framing.
Pre-Drill for Screws: Pre-drilling pilot holes will help prevent splitting the wood when you screw in the screws.
Use Strong Screws: Choose screws that are long enough to penetrate the wood and provide secure fastening.
Consider Additional Support: If you're worried about the bench's sturdiness, add extra support beams to the bottom or sides.
Sand Smoothly: Sanding is crucial for removing splinters and ensuring a comfortable seating experience.
Protect with a Weather-Resistant Finish: If you're leaving your bench outdoors, apply a sealant or paint to protect it from the elements.
More Pallet Project Ideas:
Now that you've got your pallet bench sorted, why not explore other pallet projects? The possibilities are endless! Here are a few ideas to get you started:
Pallet Coffee Table: Create a rustic and stylish coffee table by using a pallet as the base and adding a glass or wood top.
Pallet Planter: Transform a pallet into a vertical garden by adding planters to the slats.
Pallet Headboard: Create a unique and eco-friendly headboard for your bedroom by using pallet boards.
Pallet Wall Art: Create a statement wall in your home or outdoor space using repurposed pallet boards.
So, what are you waiting for? Gather your supplies and let's get crafting! You'll be amazed at how much you can achieve with a few simple materials and a little bit of effort. Remember, DIY isn't about perfection, it's about creating something unique and personal that reflects your style. And who knows, maybe your new pallet bench will become the envy of your neighborhood!


0 comments:
Post a Comment
Note: Only a member of this blog may post a comment.